
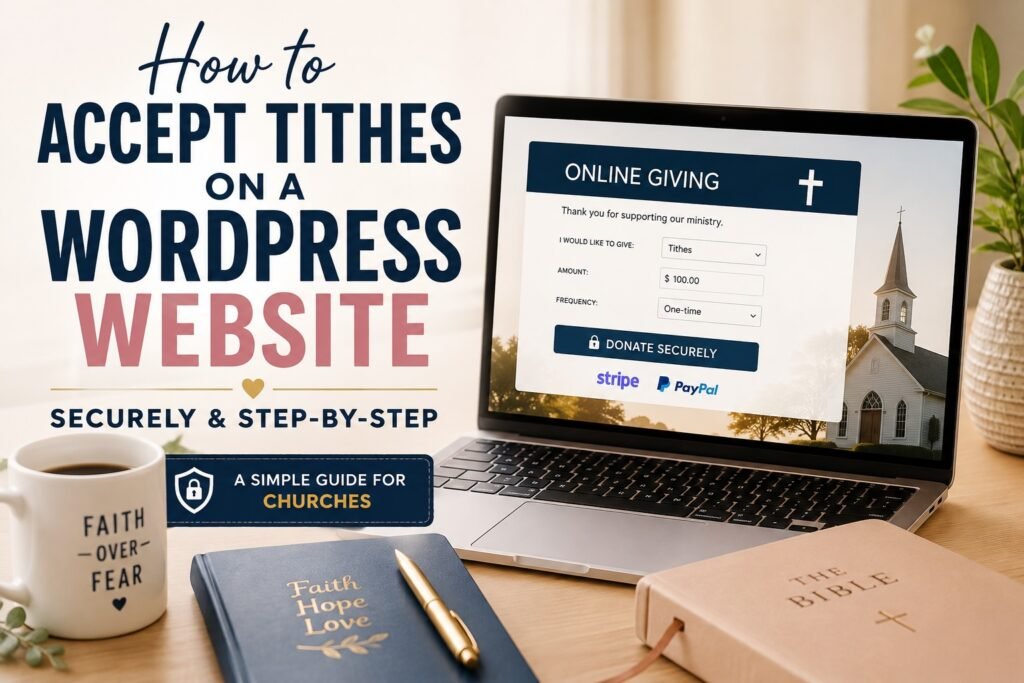
If you’re trying to figure out how to accept tithes on a WordPress website, the good news is that your church doesn’t need to build a complicated payment system from scratch.
A WordPress church website can accept online tithes, offerings, and other donations through a donation plugin connected to a trusted payment processor such as Stripe or PayPal. The important part is setting it up correctly so giving is simple for your congregation and sensitive payment information is handled securely.
In this guide, I’ll walk you through a practical way to do it, including what you need before you begin, how the pieces fit together, and a few security details that are easy to overlook.
The Simple Version: What Your Church Actually Needs
Before we get into the setup, it helps to understand what you’re building.
A basic WordPress online-giving system usually has four pieces:
- A WordPress website
- Secure web hosting with HTTPS/SSL
- A donation plugin that creates and manages your giving forms
- A payment processor such as Stripe or PayPal that processes the transaction
WordPress provides the website. The donation plugin provides the giving experience. The payment processor handles the financial transaction.
Once you understand those pieces, online giving becomes much less intimidating.
Step 1: Make Sure Your Church Website Uses HTTPS
Before accepting donations, look at your church website’s address in your browser.
It should begin with:
https://
rather than:
http://
HTTPS means the connection between the visitor’s browser and your website is encrypted. WordPress strongly recommends HTTPS, and it is especially important on a website where visitors are entering personal information.
This is one reason I would not choose church hosting based on the lowest advertised price alone. When a website is going to be used for ministry, donations, forms, administrator logins, and potentially years of church content, security and backups matter.
A Good Hosting Fit for This Setup
For a small or growing church that wants WordPress without having to manage a server itself, SiteGround is the hosting option I would consider first for the setup described in this guide.
Its WordPress hosting includes SSL, automatic daily backups, WordPress management tools, security protections, and support. That removes several technical jobs a church volunteer or staff member would otherwise have to manage separately.
Building a New Church WordPress Website?
If your church still needs hosting, SiteGround gives you a managed WordPress environment with SSL and automatic backups already included—two things I would want in place before setting up online giving.
Affiliate disclosure: WHIB may earn a commission if you purchase through this link, at no additional cost to you. Recommendations are based on the needs discussed in this guide.
If your church already has reliable WordPress hosting and HTTPS is working correctly, you don’t need to switch hosts just to follow this tutorial. Move on to the next step.
Step 2: Install a WordPress Donation Plugin
You could try to assemble a giving system using general-purpose forms or e-commerce tools, but for most churches I would rather start with software designed specifically for donations.
One established option is GiveWP.
GiveWP’s free WordPress plugin currently includes unlimited donation forms, donor management, fundraising reports, and connections to Stripe and PayPal.
That makes the free version enough for a church to begin experimenting with online giving without immediately purchasing an expensive fundraising platform.
From your WordPress dashboard:
- Go to Plugins → Add New Plugin.
- Search for GiveWP.
- Confirm that you have the official GiveWP plugin.
- Click Install Now.
- Click Activate.
Once activated, GiveWP will guide you through the initial fundraising setup.
WHIB Tip: Don’t install several donation plugins just to test them simultaneously on a live church website. Start with one system, configure it carefully, and test it before inviting your congregation to use it.
Step 3: Connect a Payment Processor
This is one of the areas that can confuse someone setting up church giving for the first time.
The donation plugin and the payment processor are not the same thing.
Think of the donation plugin as the giving desk and the payment processor as the financial infrastructure behind the desk.
GiveWP currently supports Stripe and PayPal in its free core plugin, along with additional gateway options through its paid offerings.
Your church will therefore need to create or connect the appropriate payment-processing account and complete whatever verification that provider requires.
Take your time with this step. Use the church’s correct legal and banking information rather than a volunteer’s personal information unless your church’s circumstances and financial procedures specifically require otherwise.
Step 4: Create a Simple Giving Form
Once the payment connection is working, it’s tempting to create an elaborate donation page with every possible option.
I wouldn’t.
For ordinary church giving, simplicity is usually better.
Your first form might offer:
- Tithes
- General offerings
- Missions
- Building fund
- Another designated ministry fund, if needed
But don’t create twenty choices just because the software allows it.
A church member who pulls out a phone after service should be able to understand the giving page almost immediately.
Use clear language. Keep unnecessary fields to a minimum. And make sure the form works well on a phone, because many people will never see your giving page on a desktop computer.
What About Recurring Tithes?
This is an important distinction if your church wants members to set up automatic weekly or monthly giving.
At the time this guide was researched, GiveWP’s free version supports standard donation forms through Stripe and PayPal, while recurring donations require paid functionality.
That doesn’t mean every church needs to purchase it immediately.
If you’re just testing whether your congregation will use online giving, beginning with one-time donations can be a reasonable first step.
If recurring giving becomes important, then compare the additional software cost and payment-processing fees against the convenience it provides both the church and its members.
Also remember that “free plugin” does not necessarily mean “free payment processing.” Payment processors charge transaction fees, and some plugin/payment configurations may involve additional fees. Check the current costs before your church makes a final decision.
Step 5: Create a Dedicated Giving Page
Don’t bury the donation form inside an unrelated page.
Create a clearly labeled page such as:
Give Online
or simply:
Give
Then place it somewhere people can find without hunting through several menus.
The page doesn’t need a sermon about giving before the form.
A short introduction is enough:
Thank you for supporting the ministry of [Church Name]. You can use the secure form below to give your tithe, offering, or designated gift online.
Then let the person give.
That’s what they came to the page to do.
Step 6: Test Everything Before Announcing It
Please don’t skip this step.
Before putting “Online Giving Is Now Available!” in Sunday’s announcements, make a real test donation.
Preferably, test the process on both a computer and a phone.
Check:
- Does the giving page load correctly?
- Is the website using HTTPS?
- Can you complete a donation without errors?
- Does the donor receive the expected confirmation or receipt?
- Does the donation appear where church administrators expect it?
- Does the page work properly on a mobile phone?
- Are designated giving options recorded correctly?
- Can authorized church personnel access the information they need?
It’s much better for you to discover a problem with a $5 test donation on Tuesday afternoon than for fifty church members to discover it Sunday morning.
Step 7: Protect the WordPress Side Too
Using Stripe or PayPal doesn’t mean you can ignore the security of the WordPress website itself.
The church site still contains administrator accounts, plugins, configuration information, donor-related records, and other data worth protecting.
At minimum:
- Keep WordPress updated.
- Keep plugins and themes updated.
- Delete plugins and themes you no longer use.
- Use strong, unique administrator passwords.
- Limit administrator access to people who genuinely need it.
- Use two-factor authentication where available.
- Maintain automatic backups.
- Keep HTTPS enabled across the site.
- Review administrator accounts when staff members or volunteers leave their roles.
And here’s a practical church-specific rule I would add: don’t give everyone administrator access simply because they’re helping with the website.
The person uploading Sunday announcements doesn’t necessarily need the same permissions as the person responsible for plugins, website settings, or giving records.
Should Your Church Store Credit Card Numbers in WordPress?
For a normal church WordPress setup, you should not be inventing your own system for collecting and storing raw credit-card numbers in your WordPress database.
Use an established payment processor and a reputable donation solution designed to integrate with it.
There is a major difference between having a giving form appear on your church website and deciding to build your own payment-processing infrastructure.
Your church needs the first.
It almost certainly does not need the second.
Do You Need an Expensive Church Giving Platform?
Not necessarily.
A large church with multiple campuses, complex accounting workflows, donor-management requirements, text-to-give campaigns, and extensive integrations may eventually benefit from a specialized church-giving platform.
But that’s not every church.
If you’re a smaller congregation and your immediate goal is simply:
“We want members to be able to give securely through our WordPress website,”
WordPress plus a reputable donation plugin and established payment processor may be enough to get started.
Start with the problem you actually have today.
You can always expand the system later.
A Simple WordPress Giving Setup for a Small Church
If I were trying to keep the first version straightforward, the basic structure would look like this:
Managed WordPress hosting with SSL and backups
↓
WordPress church website
↓
GiveWP donation form
↓
Stripe or PayPal payment processing
↓
Church bank/accounting workflow
That’s far less complicated than it may have sounded when you first started researching online giving.
Final Thoughts: Secure Giving Doesn’t Have to Be Complicated
Your church doesn’t need to become a technology company to accept tithes online.
You need a secure website, reliable hosting, a reputable donation tool, an established payment processor, and a careful setup.
Then test it.
Keep it updated.
Keep access limited to the people who need it.
And most importantly, make giving easy for the person on the other side of the screen.
Technology should quietly support the ministry—not become another obstacle standing between the church and the people it serves.
Need WordPress Hosting for Your Church Website?
If you’re building the church website from scratch, SiteGround is my primary hosting recommendation for the setup in this guide because it combines managed WordPress hosting with SSL, automatic backups, security features, and support in one place.