
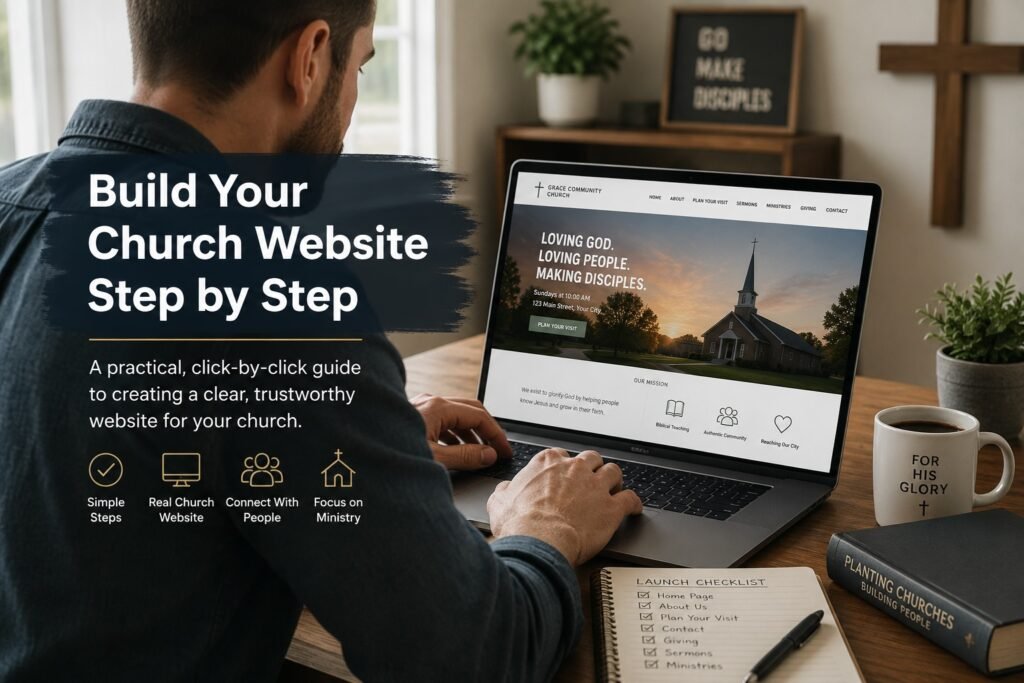
This WordPress church website builder will walk you through creating a simple, useful church website one step at a time—even if you have never built a website before.
If your church is preparing to launch, or if you are helping a small church establish its first real online home, you do not need to become a web designer.
You need to know what to click, what pages to create, what information belongs on those pages, and what you can safely leave for later.
That is what this guide is for.
Before We Begin
This guide assumes that you already have:
- a domain name for your church;
- web hosting;
- WordPress installed; and
- your WordPress login information.
If you have not chosen hosting yet, start with the Best Hosting for Church Websites guide. Once WordPress is installed, come back here and we will build the site together.
What You’ll Have When You’re Finished
By the end of this guide, you should have the foundation of a real church website, including:
- a working WordPress website;
- a clear homepage;
- an About / Beliefs page;
- a Plan Your Visit page;
- a Contact / Connect page;
- a simple navigation menu;
- optional Giving, Sermons, and Ministries pages;
- a mobile-friendly basic design; and
- a website that is ready for final testing and launch.
You do not have to finish every optional page today.
Build what your church needs now. Add the rest when the ministry actually needs it.
Quick Navigation
- Step 1: Log Into WordPress
- Step 2: Check Your Basic Church Settings
- Step 3: Choose a Simple Theme
- Step 4: Install Only the Plugins You Need
- Step 5: Create Your Essential Pages
- Step 6: Build Your Homepage
- Step 7: Build Your About / Beliefs Page
- Step 8: Build Your Plan Your Visit Page
- Step 9: Create Your Contact / Connect Page
- Step 10: Add Giving When Appropriate
- Step 11: Add Sermons When You Have Them
- Step 12: Add Ministries Without Overbuilding
- Step 13: Create Your Navigation Menu
- Step 14: Check the Mobile Version
- Step 15: Protect the Website and Church Accounts
- Step 16: Run the Final Pre-Launch Test
Step 1: Log Into WordPress
Your WordPress Dashboard is the control center for your church website.
Your hosting company may give you a direct WordPress login button. You can also usually reach the login page by adding /wp-admin to your domain.
For example:
https://yourchurch.org/wp-admin
What to Do
- Open your WordPress login page.
- Enter the username or email address connected to the administrator account.
- Enter your password.
- Click Log In.
Church Website Tip: Do not build the church’s long-term website around login information that only one volunteer knows. Before launch, make sure the church knows who controls the domain, hosting, WordPress administrator account, and recovery email.
Step 2: Check Your Basic Church Settings
Before designing pages, take a few minutes to make sure WordPress knows the basic identity of the website.
In your Dashboard, go to:
Settings → General
Check the following:
- Site Title: your church’s correct name;
- Tagline: optional—keep it short if you use one;
- Administration Email: use an address the church will continue to control;
- Timezone: choose the timezone where your church meets;
- Date and Time Format: choose formats that make sense for your congregation.
Then click Save Changes.
Check Your Permalink Setting
Go to:
Settings → Permalinks
For many church websites, Post name provides simple, readable URLs.
For example:
yourchurch.org/plan-your-visit/
instead of an address filled with numbers and codes.
If your website is already established and indexed by search engines, do not casually change its permalink structure. This recommendation is primarily for a new website being set up for the first time.
Step 3: Choose a Simple Theme
Your WordPress theme controls much of your website’s overall appearance.
A new church does not need an elaborate or expensive theme to begin.
You want something that is:
- mobile friendly;
- easy to navigate;
- reasonably fast;
- actively maintained; and
- simple enough that someone else can manage it later.
A Simple Starting Option: Astra
Astra is a widely used WordPress theme with a free version and can provide a clean foundation for a church website.
How to Install a Theme
- From the WordPress Dashboard, go to Appearance → Themes.
- Click Add New Theme or Add New.
- Search for Astra.
- Click Install.
- After installation finishes, click Activate.
Your WordPress version or theme may display slightly different wording, but the basic process is the same.
Keep this simple: Do not spend three days testing twenty themes. Your church’s mission, service information, location, and ability to connect with people matter more than finding the perfect animation or homepage effect.
Step 4: Install Only the Plugins You Need
Plugins add features to WordPress.
They can be useful—but installing too many plugins can make a website harder to maintain.
For a basic church website, you might consider:
- Elementor — optional visual page builder if you prefer drag-and-drop editing;
- WPForms Lite — useful for a basic contact or connection form;
- Rank Math SEO — optional help with page titles and search optimization;
- your host’s performance plugin — if your hosting company provides one.
If your host already handles caching, backups, or security, you may not need another plugin doing the same job.
How to Install a Plugin
- Go to Plugins → Add New Plugin.
- Search for the plugin by name.
- Click Install Now.
- After installation, click Activate.
Repeat only for plugins you actually intend to use.
Step 5: Create Your Essential Pages
Before worrying about colors and images, create the basic structure of the website.
Go to:
Pages → Add New Page
Create these pages first:
- Home
- About or About & Beliefs
- Plan Your Visit
- Contact or Connect
Depending on your church, you may also create:
- Giving
- Sermons
- Ministries
- Events
You can leave an optional page unpublished until you have real information to put on it.
Do not create empty pages simply because larger churches have them.
Step 6: Build Your Homepage
Your homepage is usually the first place a visitor encounters your church online.
A person should not need to study the page to figure out who you are or when you meet.
A Simple Homepage Structure
Your homepage can begin with:
Church Name
A short sentence describing the church or its mission.
Sunday at 10:00 AM
123 Main Street, Your City
Then include a clear button:
Plan Your Visit
Below That, Consider These Sections
- a short welcome from the pastor or launch team;
- what visitors can expect;
- a brief statement about the church’s mission;
- children’s ministry information if applicable;
- a link to recent sermons when available;
- a way to connect or request prayer;
- location and service information.
If Your Church Has Not Launched Yet
Do not pretend that details are final when they are not.
You can say something such as:
We are preparing to launch a new church in the Springfield area. Join our email list to receive updates about our launch date, gatherings, and location.
Then provide a simple contact or interest form.
Set the Home Page as Your Homepage
Depending on your WordPress setup, go to:
Settings → Reading
Under Your homepage displays:
- choose A static page;
- select your Home page;
- click Save Changes.
If you later decide to publish church news or articles, you can create a separate Posts or News page.
Step 7: Build Your About / Beliefs Page
Someone considering your church may want to understand who you are before attending.
Your About page can answer:
- Why does this church exist?
- What is its mission?
- What does it believe?
- Who provides pastoral or ministry leadership?
- What kind of community are you seeking to build?
Keep the language understandable to someone who does not already know your church.
If your church has a formal statement of faith, denomination, network affiliation, or doctrinal statement, provide it clearly and accurately.
A Simple Structure
Our Mission
One or two paragraphs explaining why the church exists.
What We Believe
Your core beliefs or link to a complete statement of faith.
Our Leadership
Introduce the pastor and relevant leaders with current information.
Step 8: Build Your Plan Your Visit Page
This page deserves special attention because it can remove many of the uncertainties a first-time visitor feels.
Include whatever applies to your congregation:
- service time;
- street address;
- map or directions;
- parking instructions;
- which entrance to use;
- children’s ministry check-in;
- accessibility information;
- what a typical gathering is like;
- how long the service usually lasts;
- how someone can ask a question before attending.
Do not worry about answering every imaginable question.
Ask yourself:
“What might make someone nervous about visiting for the first time?”
Then remove as much uncertainty as you reasonably can.
Church Website Tip: Put a visible Plan Your Visit link or button on the homepage and in the main navigation. Do not make first-time visitors hunt for service information.
Step 9: Create Your Contact / Connect Page
A church website should make it easy for a person to take a next step.
Your Contact or Connect page might include:
- church email address;
- phone number, if appropriate;
- contact form;
- prayer request form;
- launch-team interest form;
- volunteer interest;
- email updates.
Using a Basic Contact Form
If you installed WPForms Lite or another form plugin:
- open the form plugin from your WordPress Dashboard;
- create a simple Contact form;
- ask only for information you genuinely need;
- set the notification email to an address someone actually monitors;
- place the form on your Contact page;
- submit a test form yourself before launch.
That last step matters. A beautiful contact form is useless if the messages go nowhere.
Step 10: Add Giving When Appropriate
If your church is ready to accept online donations, you can create a Giving page.
Your web host generally does not need to process the donation itself. Churches commonly use a dedicated giving platform or payment provider and then connect or link that service from the website.
Your Giving page should clearly explain:
- how people can give;
- where the giving button leads;
- any other approved giving methods your church provides.
Do not add online giving merely because every church website seems to have it. Make sure the church has its organizational, financial, and legal processes appropriately established first.
For more help with this decision, see Online Giving Tools for Churches.
Step 11: Add Sermons When You Have Them
A church that has not launched yet does not need an empty sermon library.
Once sermons or teaching messages are available, create a Sermons page and begin adding them consistently.
You usually do not need to upload large video files directly to your WordPress hosting account.
A common approach is to:
- publish the video through a video platform such as YouTube;
- copy the video link;
- embed the video on the church website;
- add the sermon title, speaker, date, and Scripture reference.
If your church distributes audio sermons or a podcast, you can also read Church Sermon Podcast Hosting.
Step 12: Add Ministries Without Overbuilding
You may eventually want pages for children’s ministry, youth ministry, small groups, missions, men’s or women’s ministry, outreach, prayer, and other areas.
But only publish information that reflects ministries that actually exist.
A new church might begin with one Ministries page containing several short sections rather than creating ten separate pages.
As ministries grow, you can give important areas their own pages later.
Let the website grow because the ministry grows—not because you feel pressure to make the church look larger than it is.
Step 13: Create Your Navigation Menu
The navigation menu helps visitors move around the website.
For a new church, keep it simple.
A main menu could look like:
Home | About | Plan Your Visit | Ministries | Sermons | Giving | Contact
If some of those pages do not exist yet, leave them out.
How to Set the Menu
Depending on your WordPress theme and version, menu controls may appear under:
Appearance → Menus
or within:
Appearance → Editor / Navigation
If you are using Astra with its traditional customization controls, you may also see menu options under Appearance → Customize.
Add the pages you want visitors to see, arrange them in a logical order, and save your changes.
Then visit the live website and make sure every menu item goes where you expect.
Step 14: Check the Mobile Version
Do not assume the website works well on a phone because it looks good on your computer.
Take out your actual phone and visit the website.
Test These Things
- Can you read the church name immediately?
- Can you find the service time quickly?
- Can you find the location?
- Can you tap the menu easily?
- Is the Plan Your Visit button obvious?
- Are paragraphs easy to read?
- Do pictures fit the screen?
- Does the contact form work?
- Are buttons large enough to tap comfortably?
If something feels difficult on your phone, fix it before launch.
For many potential visitors, the phone version is your church website.
Step 15: Protect the Website and Church Accounts
A church website can outlive the volunteer who originally builds it.
Prepare for that now.
Account Ownership Checklist
- Document where the domain is registered.
- Document where the website is hosted.
- Use strong, unique passwords.
- Know which email address receives password resets.
- Make sure appropriate church leadership can regain access if necessary.
- Remove administrator access when someone no longer needs it.
- Keep WordPress, themes, and plugins updated.
- Confirm that website backups are working.
Where available, consider enabling two-factor authentication for important administrative accounts.
Avoid sharing one administrator password among a large group of people. WordPress allows separate user accounts with different levels of access.
Step 16: Run the Final Pre-Launch Test
Church Website Launch Checklist
- ☐ Church name is spelled correctly everywhere.
- ☐ Service or launch time is correct.
- ☐ Location is correct—or clearly described as coming soon.
- ☐ Plan Your Visit page is easy to find.
- ☐ Contact form has been tested.
- ☐ Phone numbers and email addresses are correct.
- ☐ Mission and beliefs information is accurate.
- ☐ Leadership information is current.
- ☐ Giving links work, if applicable.
- ☐ Sermon links work, if applicable.
- ☐ Main menu works.
- ☐ Website has been checked on a phone.
- ☐ Important buttons work.
- ☐ Domain, hosting, and WordPress access are documented.
- ☐ Backups are functioning.
- ☐ Another person has reviewed the website before launch.
Ask Someone Else to Test It
This is one of the best final checks you can make.
Ask someone who did not build the website to open it without giving them instructions.
Then ask:
- What is this church about?
- When does it meet?
- Where does it meet?
- How would you plan a visit?
- How would you contact someone?
If the person struggles to answer those questions, improve the website before adding more features.
You Have Built the Foundation
If you followed this guide, your church website may not have every feature it will ever need.
That is okay.
A church website is not something you finish once and never touch again.
As the church grows, you may add ministries, sermons, events, staff members, resources, groups, forms, and other useful features.
But you now have something more important than a collection of features:
You have a clear online front door for your church.
Someone can hear about the church, search for it, understand what it is, learn when and where you meet, and take a next step.
That is a strong beginning.
Need to Revisit Your Church Website Foundation?
If you want to double-check what a new or small church actually needs online, return to the setup guide below.
Read the Small Church Website Setup GuideFinal Encouragement
Your church website does not need to compete with the largest church in your city.
It needs to serve the people God has placed within your reach.
Keep the information accurate. Keep the navigation clear. Keep the website manageable. And let it grow as the ministry grows.
The technology should support the ministry—not become the ministry.
About the Author
I’m Rev. Nehemiah Maxwell, an ordained Christian minister and founder of WhichHostIsBest.com. I created WHIB to help Christians, churches, and ministry leaders understand the practical steps involved in establishing a useful online presence without making technology unnecessarily complicated. My goal is to help make the technical side clearer so ministry leaders can spend more of their attention serving the people they are called to reach.